|
|
|
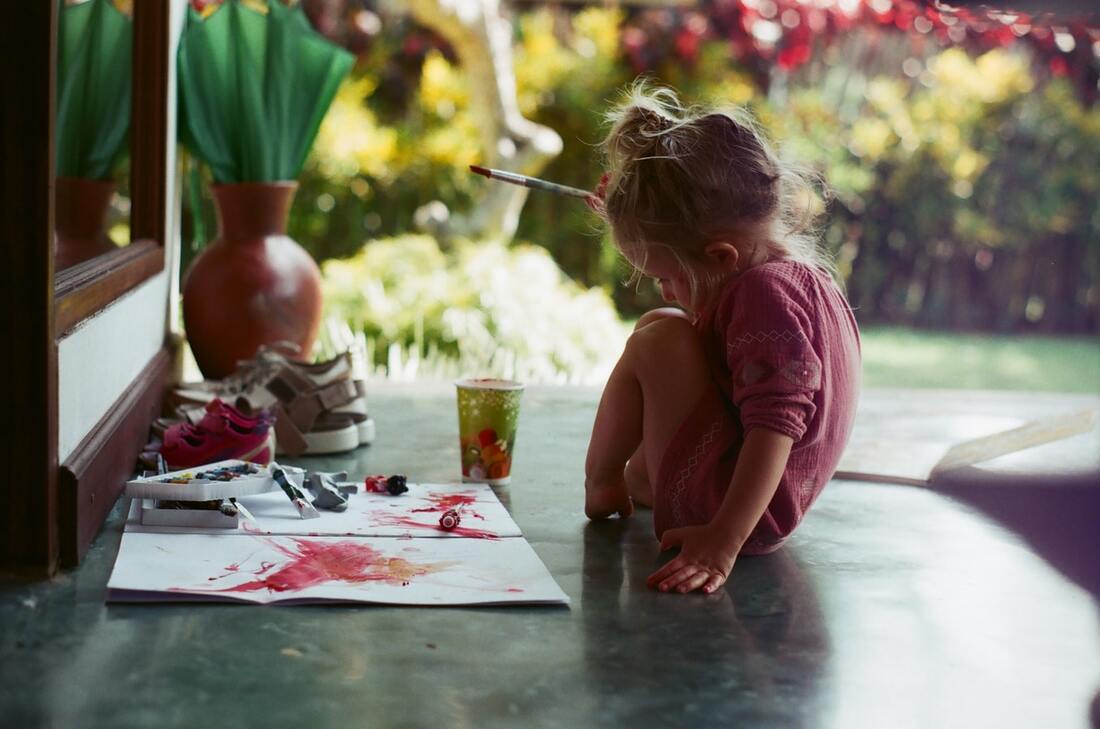
Young children often find tremendous satisfaction and delight in creating works of art. Indeed, many children are prolific artists. Storing and displaying all their creations can present a bit of a challenge for parents. For one thing (if we're being totally honest), not everything they draw, paint, or color is worthy of exibition. In addition, most of the art they produce is on cheap paper that tends to yellow, wrinkle, and curl over time. Then there is the children's own insistance that their work be kept and preserved which requires both display and storage space. With a little planning it is possible to develop a system for curating children's artwork that will satisfy everyone's needs and desires. AFFILIATE DISCLOSURE: This post contains affiliate links. This just means that there are product suggestions included within the text. Should you click on one of the links and decide to make a purchase, I will receive a small commission. I only suggest products I love and and have experience with that are directly related to the content in this post. You can view my Disclosure Statement for more information. Thank you for your support!
I recommend designating a specific space in your home for displaying your child's artwork and then rotating pieces over time as new ones are created. This will help prevent pieces on display from degrading over time and keep the exhibit fresh and interesting. In addition to that old favorite the refrigerator, possible candidates for display space include a hallway, kids' playroom, family room, stairway or entry. Personally, I like to choose a space that visitors are sure to see.
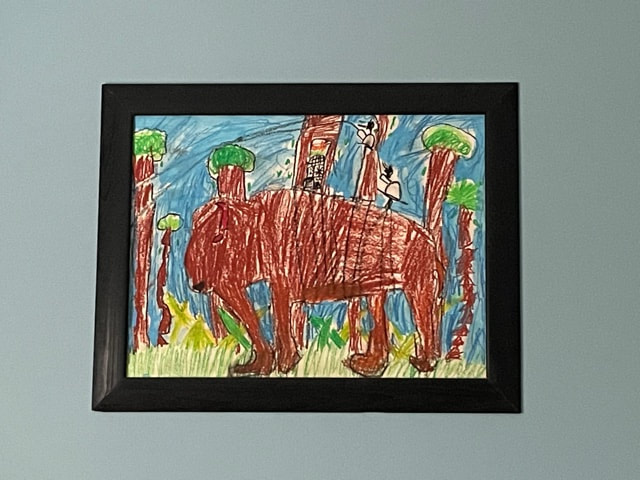
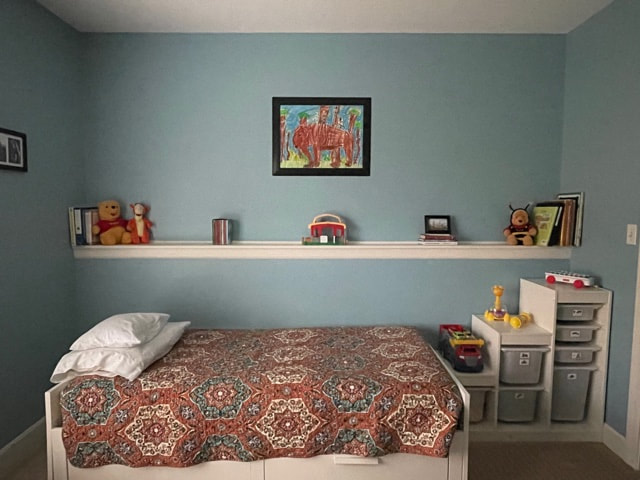
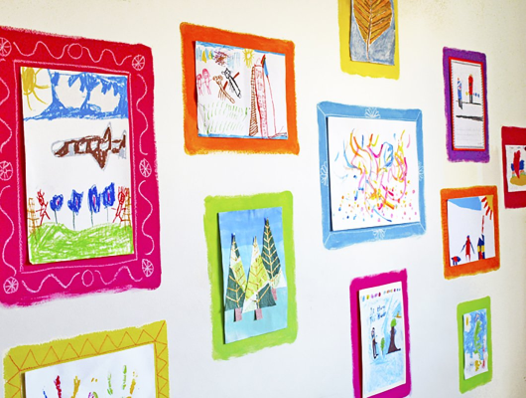
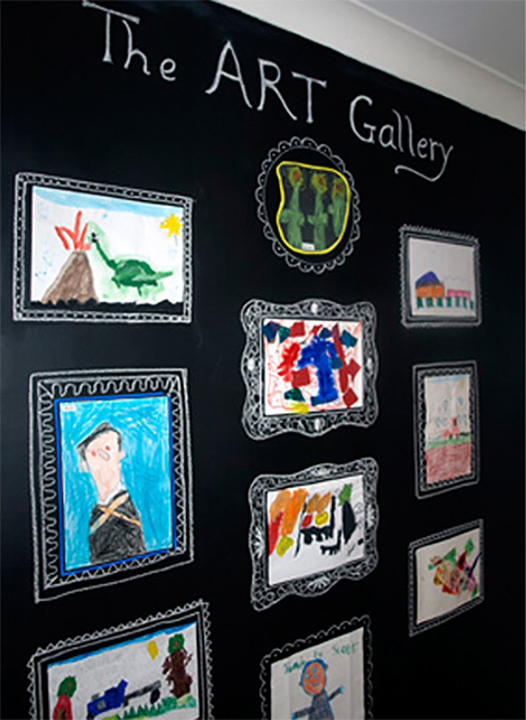
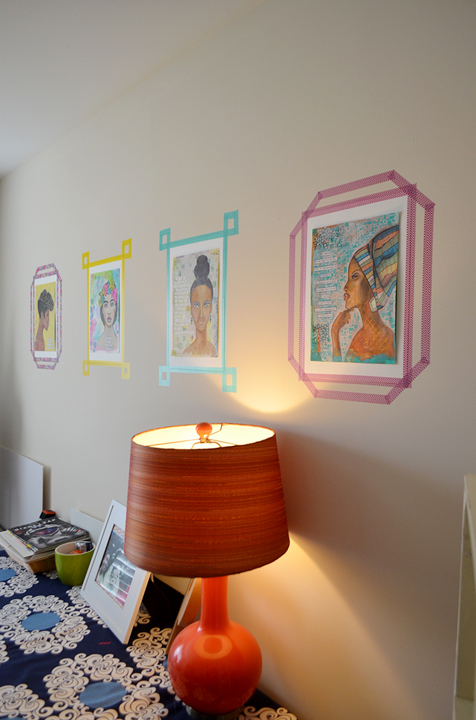
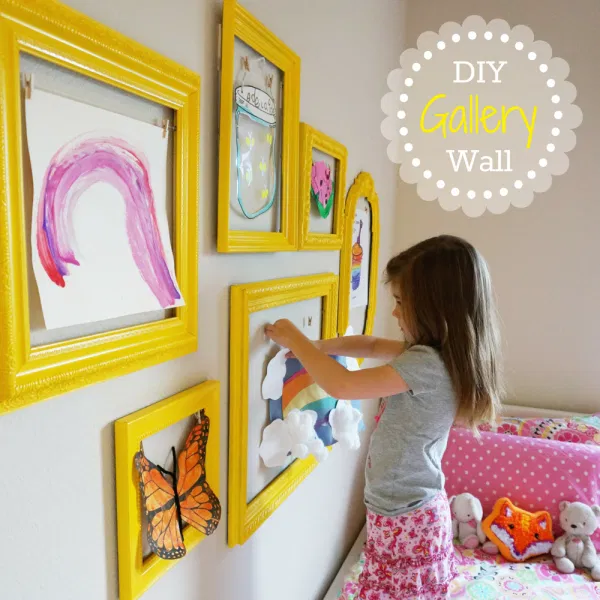
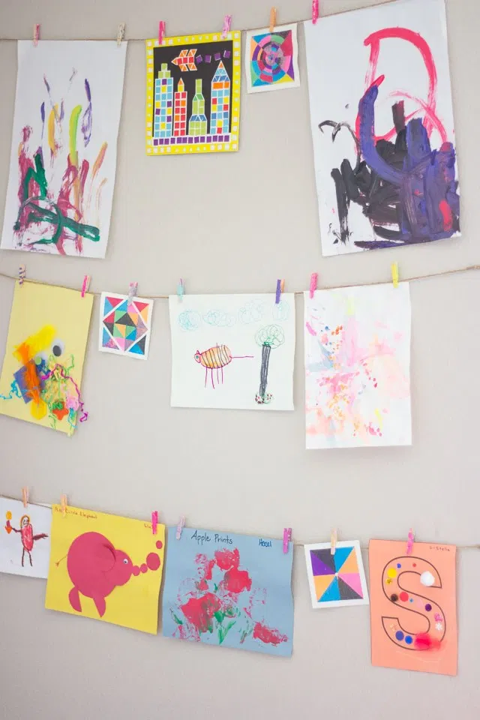
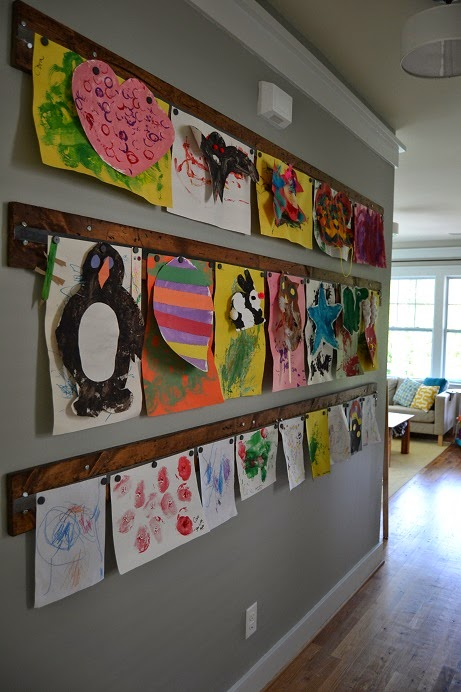
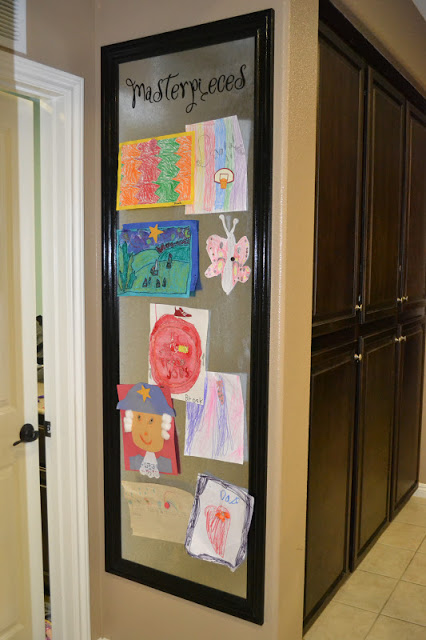
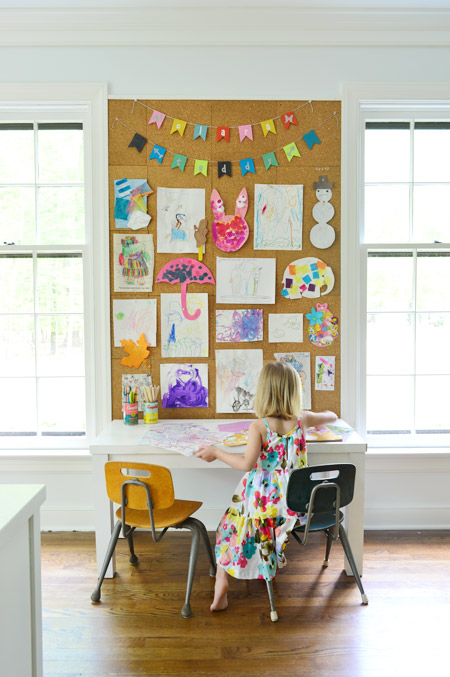
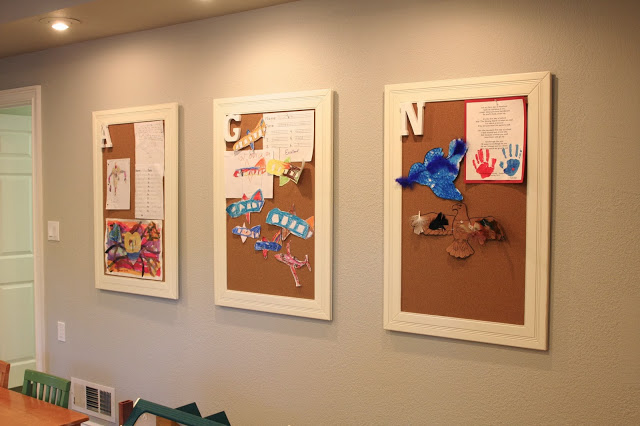
A simple Google search will yield hundreds of examples of ways to display children's artwork. Here are a few of my personal favorites: Frame It: Consider framing special pieces for added impact and appeal. I love float frames for this purpose as they tend to really catch the eye and make whatever is framed in them stand out against the background. Since kids' artwork is often produced on oversized paper, I recommend 11" x 14" frames at a minimum. With a float frame, it's okay if the piece is smaller than the frame - better to have extra space than to have to trim a piece down to fit the frame. If you don't want to spend the money on frames, you can create your own using a variety of mediums. For oversized or oddly shaped pieces, you can use scrap wood to create a custom frame like the one shown here that we made to show off our son's rather large drawing of a buffalo which is currently on display in our playroom. A whimsical and unique way to "frame" children's artwork is by creating outlines on a wall using strips of trim, paint, or Washi tape as shown below. A fun bonus of this approach is the ability to easily switch out works of art with little effort. I love this vibrant display wall from artful-kids.com. The use of colored chalkboard paint allows you to create individualized designs around the edges of your frames, adding an even greater one-of-a-kind vibe to your gallery. Perhaps the thing I love most about it, though, is the imperfect nature of the blocks of color. There is no attempt here to create sharp, crisp edges. To me, this adds to the charm and playfulness of the display. Speaking of chalkboard paint, here's another idea from artful-kids.com. In this case, the entire wall has been painted with black chalkboard paint, and individual frames drawn on with chalk. The nice thing about this is that you can switch out pieces by erasing the old frame and drawing in a new one specifically designed to fit and showcase the artwork it surrounds. Washi tape comes in a seemingly endless array of colors and patterns, making it an extremely versatile medium, as demonstrated here by Jennae of greenyourdecor.com. It won't damage your walls, and it's easy to remove and redo, allowing you to change things up to accomodate new creations over time. For those of us who aren't entirely confident in our ability to freehand things, a simple solution is to hang picture frames minus their glass inserts and backing. Paint them a lively color as demonstrated here by Heather from thecaterpillaryears.com. You can paint them all one unifying color as shown or choose an assortment of bright hues for a sort of rainbow effect. You could also select colors to coordinate with the room's decor. Hang It: The benefit of hanging artwork is that it is super easy to switch out pieces. The drawback is that the edges of the artwork have a tendancy to curl up over time. A great way to prevent curling edges is to slide the artwork into a clear plastic sleeve before hanging it. There are lots of fun ways to hang kids' artwork. Here are a few of my favorites: Get yourself some colorful mini clothespins and some natural jute twine (which comes in a variety of colors), and string up a simple "clothesline" like this one by Haeley from designimprovised.com. For a sturdier solution, hang magnetic strips mounted to boards. This example comes from Laura at Never Listless. Finish it off with some fun, colorful circle magnets and you're all set! Keeping with the magnetic theme, why not try this idea by Melissa from Inspiration Organization. Frame a piece of sheet metal to create a versatile display board. If sheet metal makes you nervous, you might try a similar concept using cork. This example from John and Sherry at Young House Love utilized cork tiles. This modified version of a cork display board by Samantha at Simply Organized is great for displaying each child's latest and greatest individually.
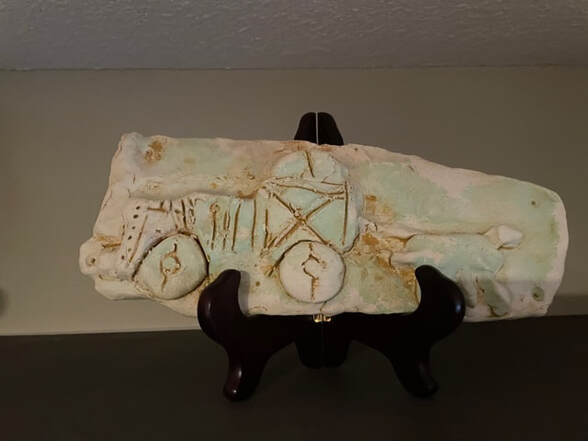
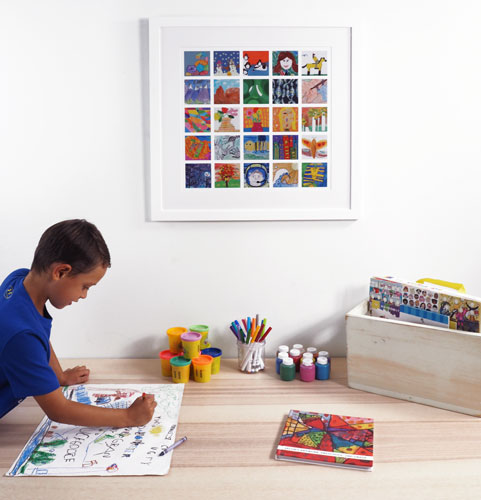
Our youngest son's fourth grade art teacher was obsessed with sculpture. Here in my home office, there are no less than five of his creations on display. He is 20 now, but I still love them (especially the elephant). In a previous home, I had one of his creations on display in the living room. It was resting on a set of built-in shelving which also housed many of our treasures from the Middle East. At a dinner party we were hosting, the wife of my husband's boss was admiring the contents of the shelves. After singling out a handful of pieces, she pointed to our son's sculpture and asked, "Where did that come from?" When I told her my fourth grader made it, she said, "Really? I thought it was some sort of ancient relief sculpture!" Long Term PreservationFile It: When it's time to retire a piece of artwork, there are a variety of options for curating items long term. The simplest and most obvious is to create a filing system or binder for preserving extra special pieces. When the filing system starts to get crowded, sort through it and thin it out with the input of the artist. Photograph It: Awkwardly shaped or sized pieces or items that won't withstand the test of time (think macaroni sculpture), can be photographed or scanned as a means of preserving them. In addition to a photo of the item, be sure to take a photo of the artist with their artwork. Photos and scans can be used to create an artwork portfolio. This can be achieved either by printing the photos and inserting them into an album or by creating a photo book online. Provide journaling (yours or the child's) that tells about the piece - when and why it was created, what it is, and how it was produced. For more on this topic, see my post When a Photo Is Sufficient. Artkive ItToo busy to scan all your kids artwork? Don't have the necessary technology to preserve their artwork digitally? No worries. Artkive will send you a box. You fill it with 25 of your child's best works of art and mail it back to them. They will turn it into a custom gallery quality mosaic print complete with smooth white matting and white wooden frame (overall size is 26" x 26"). You also have the option to choose a photo book instead (or in addition). Gift It: Children's artwork makes a fun gift, either in its original form or repurposed from a photograph or scan. The following individuals would most likely be pleased to receive an artistic gift from your child:
Speaking of gifts, if your child likes to draw on newsprint, consider using one or more of their creations as gift wrap. And speaking of sharing, scanned artwork can be saved to a file or disc and shared. Save it to an SD card and insert it in an electronic photo frame to enjoy an ever-changing display of your child's creativity. Preserving kids' artwork in this format allows you to manipulate it in various ways. Use it to create calanders, magnets, coasters, mouse pads, notecards, mugs, t-shirts, decorative pillows, face masks, and more. Children can be sensitive about their creations, expecting parents to hold onto every scrap of paper they ever scribbled on. By taking on the role of curator, you demonstrate to your child that you appreciate their work and care about preserving it. You also help them to understand that there are different ways to preserve and enjoy their creations, that not all creations are created equal, and that learning to be discerning allows them to create a portfolio they can feel proud of.
12 Comments
2/8/2021 09:00:49 am
These are such great suggestions! My granddaughter is a prolific artist (age 3). Her parents are a bit overwhelmed by all the masterpieces which are coming home from school. I will share these ideas with them!
Reply
2/8/2021 03:36:20 pm
Thanks, Diana! I'm so glad you found my suggestions helpful.
Reply
2/8/2021 10:49:54 am
Great tips! I have two creative children and when they were younger, they had a lot of artwork. They were more critical than I was, so they easily got rid of things they did not like. I did frame a few pieces, especially if the children loved them. We hung them in the family room so everyone can see them often.
Reply
2/8/2021 03:38:13 pm
I love that you hung your children's masterpieces in the family room for all to see. I think there is something charming and whimsical about framed children's artwork. It just puts a smile on people's faces. I also love that your children were good at thinning out their own masterpieces. It certainly makes the job easier.
Reply
2/8/2021 12:08:16 pm
I love all of these creative ideas for displaying and preserving kids' art. The washi frames and chalkboard walls I especially liked. How fun! When the girls were very young (and really prolific,) I would use their newsprint paintings to wrap gifts. You mentioned that too. It always looked great and the recipients loved the unique wrap.
Reply
2/8/2021 03:40:37 pm
I do think it is fun to receive a gift wrapped in one of a kind artwork, especially if it was created by a child. I also think there is something worthwhile in encouraging children to share their masterpieces. It's a simple way to teach empathy because as they created something to share, they often talk/think about the person who will receive it and how their gift will make that person feel.
Reply
2/8/2021 12:26:22 pm
I love the washi tape frame idea. I think the key is having a gallery where it is easy to add and subtract pieces. My children are grown, but I had saved all of their artwork growing up. I finally went through it all and made them each two photo books, one of their preschool art, one of their elementary art. If I had young children now, I would take it out of the gallery and photograph it in real time instead of saving it, and then upload to Artkive or something similar.
Reply
2/8/2021 03:43:00 pm
I agree that having a gallery that is easy to adjust is important. It keeps things current and interesting. Photo books are a wonderful way to preserve kids' artwork. Your suggestion about using Artkive is excellent. Thanks for sharing.
Reply
2/10/2021 01:21:27 am
I've read (and written) many blog posts on organizing and displaying children's art, and I think this is by far the best I've ever seen. You've gone beyond the traditional and modern methods to really embrace novelty -- I love the washi tape and glassless frames! And you've really sold me on Artkive!
Reply
2/10/2021 06:42:56 am
Thanks, Julie! That’s kind of you. I love the Washi Tape and float frames as well, and I wish Artkive had been a thing when my kiddos were little!
Reply
2/12/2021 10:51:17 am
So many options, Sherri, this is a wonderful collection of ideas! My kids could have come up with their own line of wrapping paper back in the day :-)
Reply
Leave a Reply. |
Archives
November 2022
Categories
All
|
Proudly powered by Weebly

 RSS Feed